
Artist Colony — Making your own Netrunner credit poker chips
When fellow Netrunner players see my credit poker chips, they typically will ask me to make them a set or ask me to show them how to make them. I’ll be honest, I don’t really want to open an Esty shop and start selling these so as an alternative I decided to write this step by step article and create a short video on how to make them.
Step 1 — Purchase poker chips
The first thing you need to do is pick up some poker chips. I purchased 14 gram poker chips because I wanted them to be heavy. You could go with 11 gram and I think you would be fine. The key to the poker chip is it has to be a recessed face. You are going to be applying a sticker/label to the face and you want it to lay in the recessed poker chip face. Some poker chips have a flat surface and you should not get these kind.
In the video I created, I didn’t have blank chips so I had to remove the sticker before applying my custom made stickers. You can purchase blanks ones online. Below is a link for a site where you can purchase them.
Step 2 -Purchase the correct type of paper
There are several options for printing off the labels. I personally printed to waterproof paper then applied the adhesive later. (See Option 2 below). I’ve tried normal paper and it didn’t work very well. Since the chips are handled quite a bit you want a paper that isn’t going to fade when touched a lot. I think the waterproof paper is worth it.
Options 1 — Buy paper with adhesive already applied. This method allows you to skip the apply adhesive step. If you don’t have access to a sticker maker this is good option. Terra Slate sells a Marine Grade and a Durable & Waterproof grade adhesive paper that you can print directly to with a laser printer. (Cannot print with inkjet)
I haven’t used this myself but I called them directly and they helped me understand the differences. The Marine grade is the super waterproof paper with a permanent adhesive. It can be submerged in water for long periods of time — like the side of a boat. The Durable & Waterproof grade is good for labels on bottles and things that can get wet but not for long period of time. It comes in two type: Permanent and Low-Tac Adhesive . I think the Permanent Durable &Waterproof grade is what you should go for.
Option 2 — Buy paper without adhesive applied
The same company I shared above, Terra Slate, sells a 4 mill 8.5 x 11 sheet of waterproof paper. It worked perfect for me.
Step 3 — Print at your local print shop
My recommendation is to avoid printing these sheets at home. I have a decent laser printer and it still didn’t look as good as when I took it to Office Depot and had them print it. I think it is worth the trip and price to have them print it. They always look at me a little weird when I give them the Terra Slate. You might need to reassure them that it will print fine.
IMPORTANT — One other thing you need to remember is that you need them to print these at 100% or actual size. A lot of print software will automatically scale the image back to avoid misprinting. The will be too small and not fit nicely into the chip.
Step 4 — Apply Adhesive
You can skip this step if you bought paper that already has the adhesive applied. If you didn’t continue reading.
Personally, I use a Xyron 900 with permanent adhesive to turn the paper into a sticker. Let me say, purchasing the Xyron 900 has been one of the most useful craft related purchases I’ve ever made. I use it all the time for all sorts of projects. Whenever my kids need to apply something to a school project, I use the Xyron 900. When I want to make my own protoype for gaming components, I use the Xyron 900. When I want to make Netrunner poker chip, I use the Xyron 900! You can pick one of these up for 20–30 bucks and I can’t see why you wouldn’t want to get one. They are so handy.
Press enter or click to view image in full size\To use the Xyron all you have to do is run whatever you want to become a sticker into the machine and BAM you have a sticker. So for our Netrunner tokens, I ran the Terra Slate right through the machine.
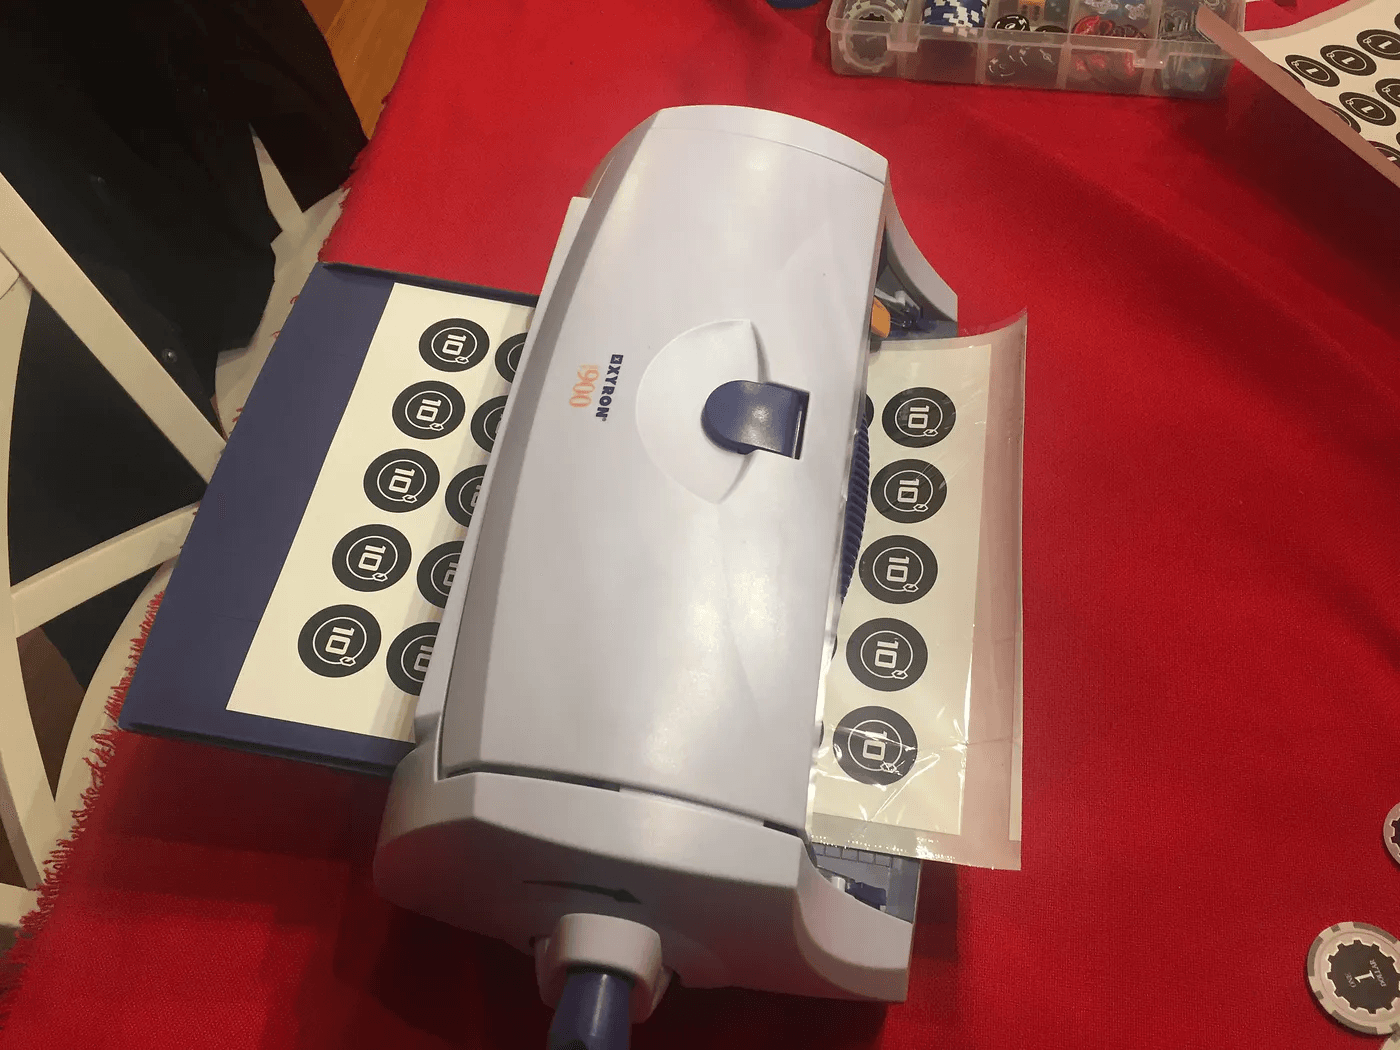
To use the Xyron all you have to do is run whatever you want to become a sticker into the machine and BAM you have a sticker. So for our Netrunner tokens, I ran the Terra Slate right through the machine.
If you don’t have a sticker maker and don’t have adhesive paper you could also apply the adhesive after completing Step 4. Pick up some spray adhesive or rubber cement and stick them on one by one. This is a little more tedious but doable.
Step 5 — Cut out stickers
Professional printing companies use a computer to cut out the stickers and since I don’t have that type of equipment I went with the manual approach.
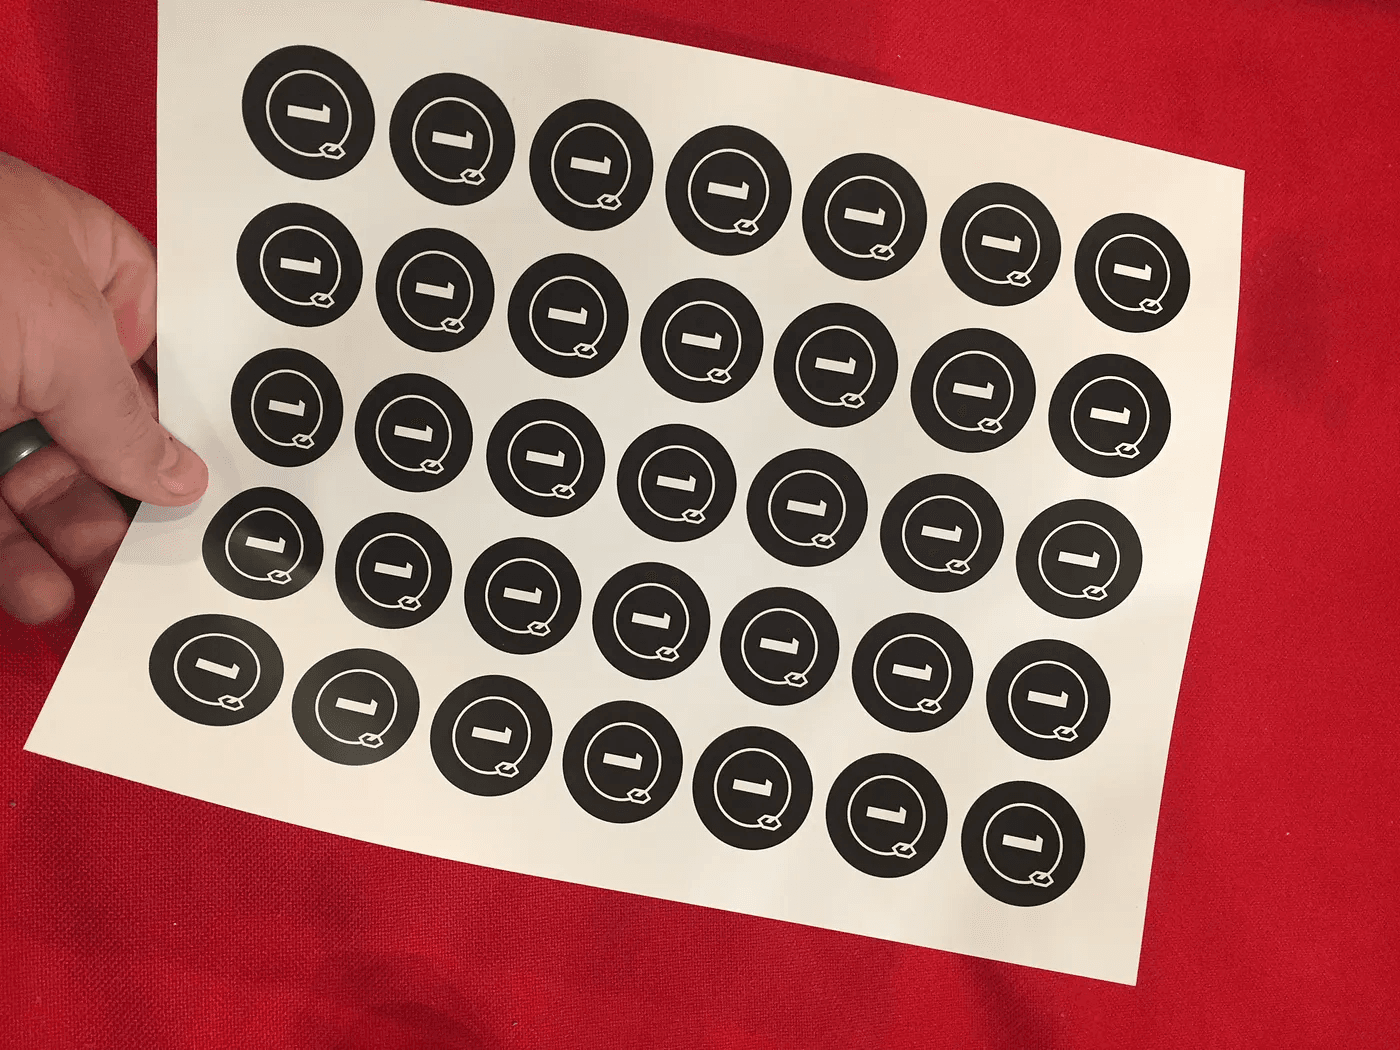
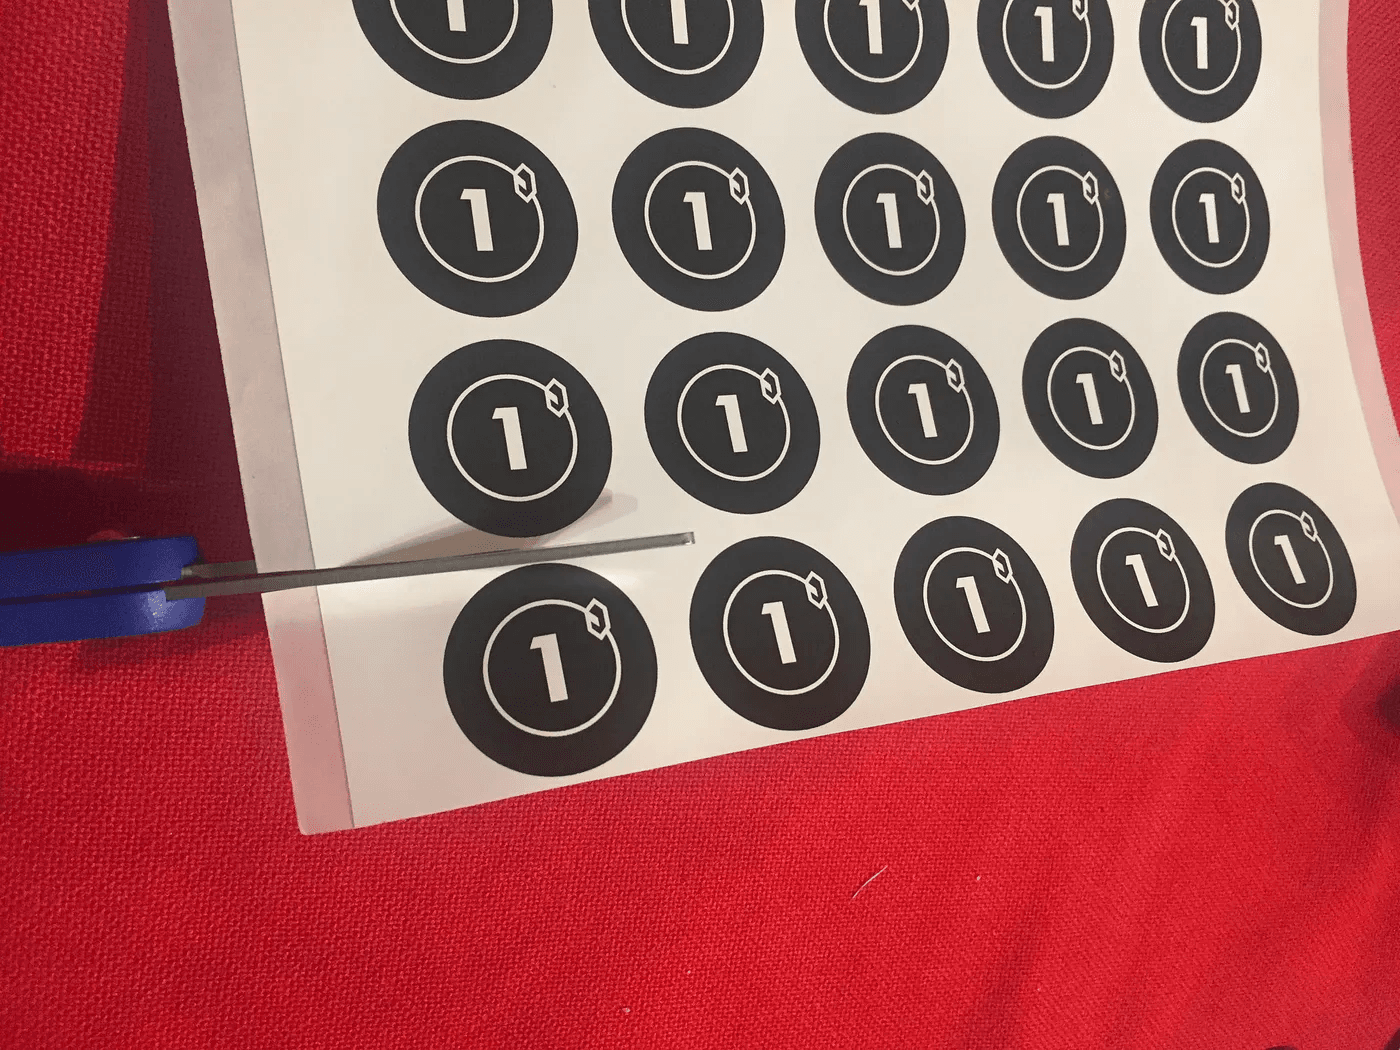
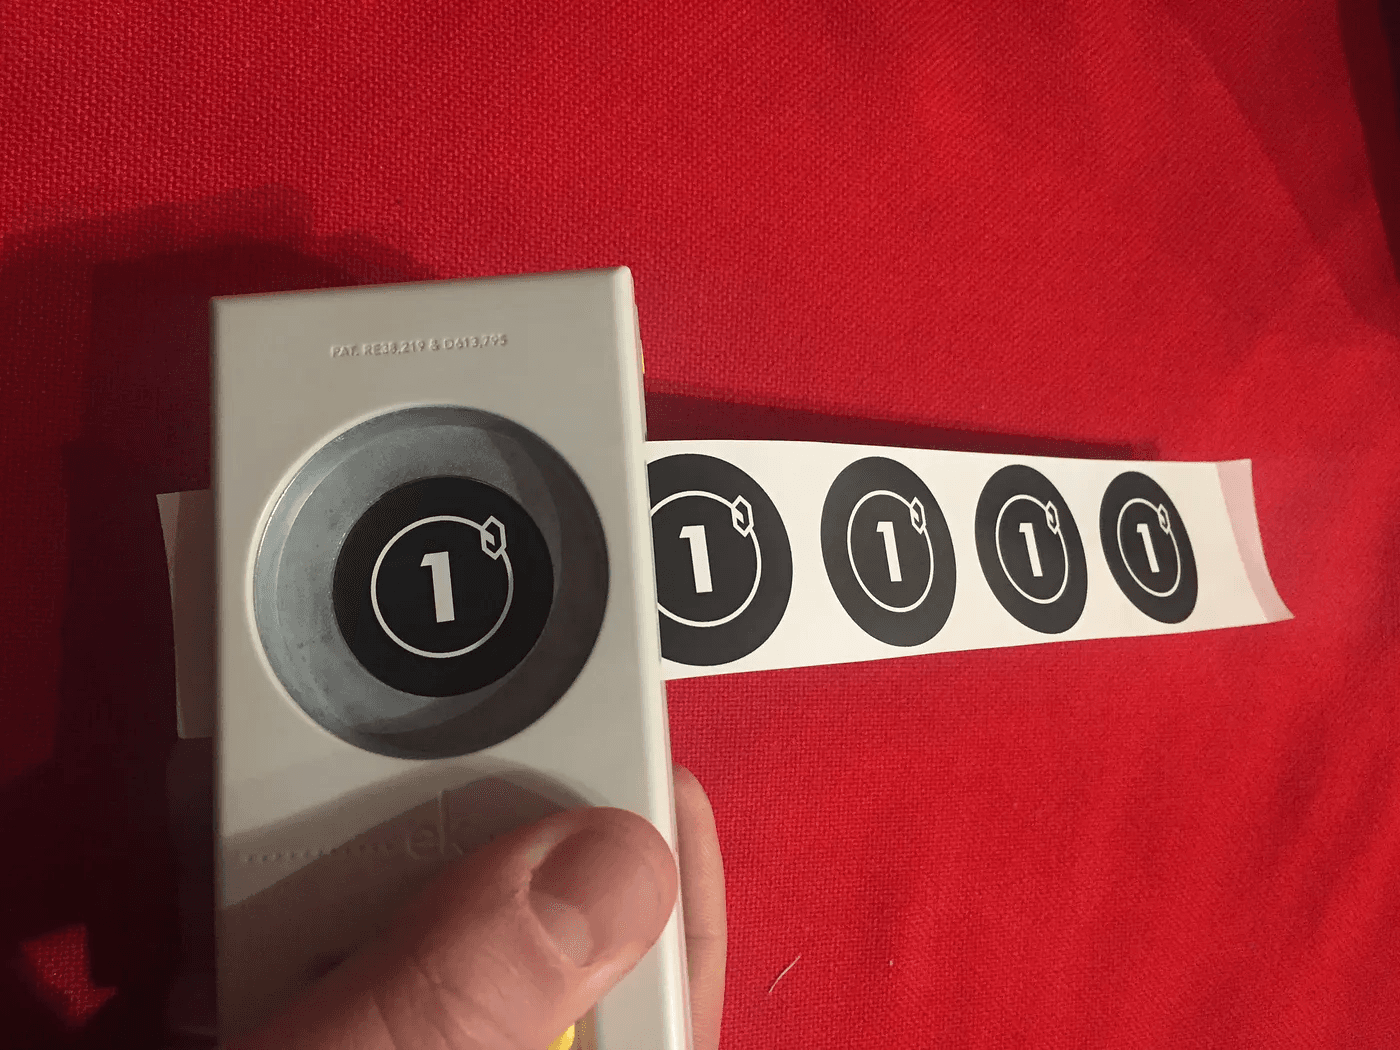
First, I cut out the tokens into strips of five so that it was easy for me to punch them.
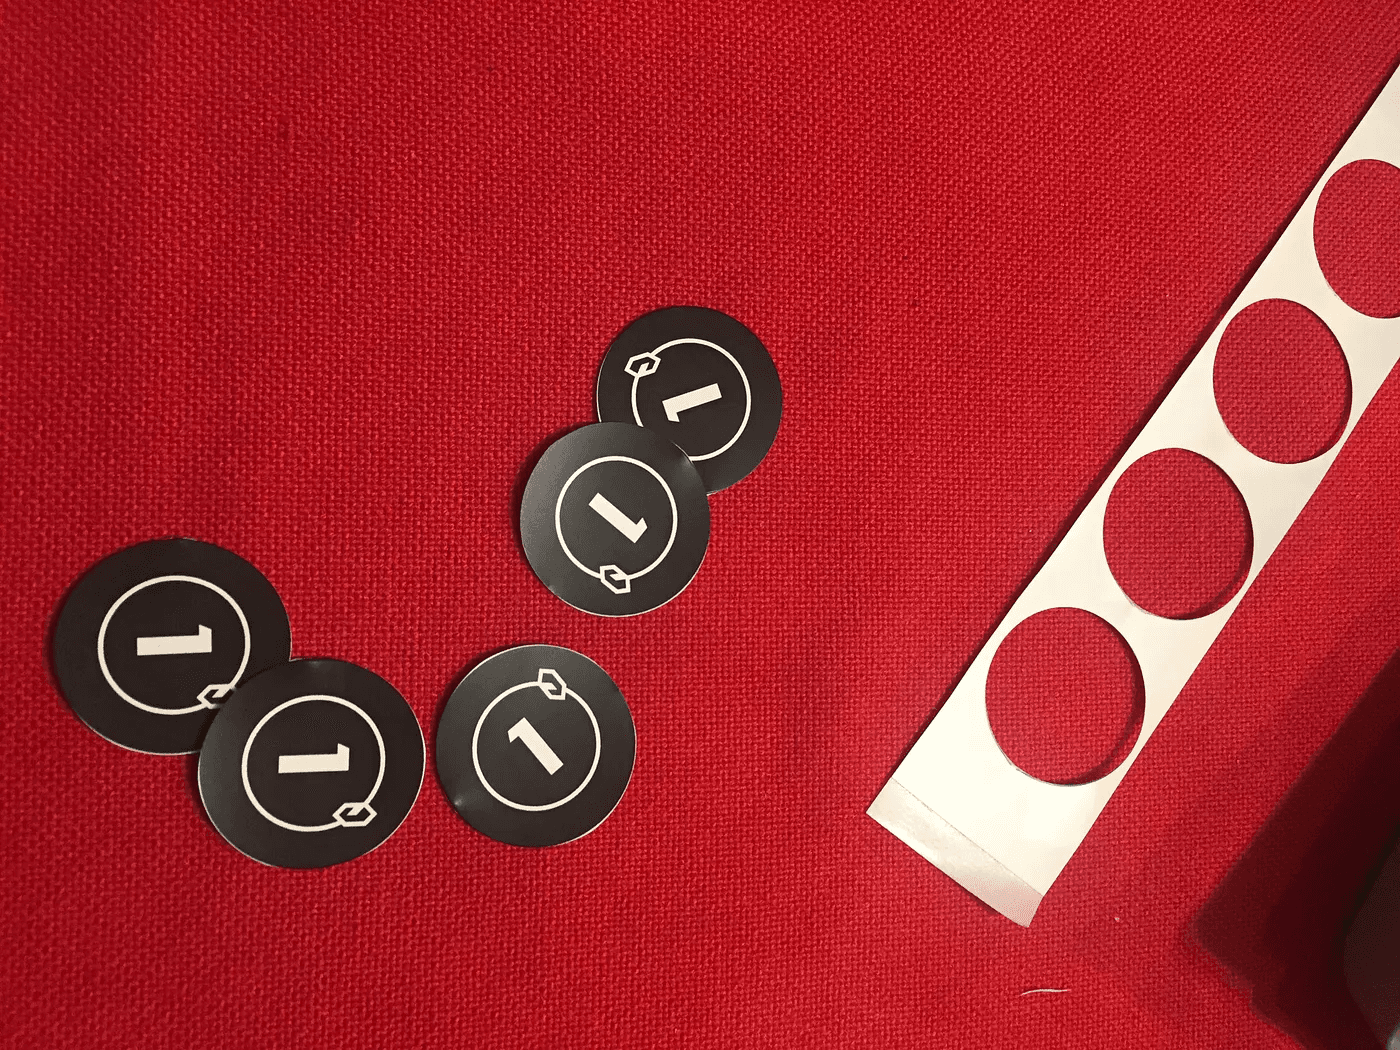
Second, I use a 1.25 inch hole punch to punch out the stickers. The printed tokens circles are 1.4 inches so that I have a little bit of a bleed area to give me room when I cut. You will need to eyeball to make sure the credit symbol is centered when you cut. This can be a little tricky but with a little practice you should be fine.
Another thing you need to realize is that you are punching through Terra Slate and an adhesive back and this can make it difficult for your punch to cleanly do. I found if I punch hard and quick I usually can get through the paper. However, I sometimes need to go back and clean up a few edges with scissors after I’m done punching.
Step 6 — Apply the sticker
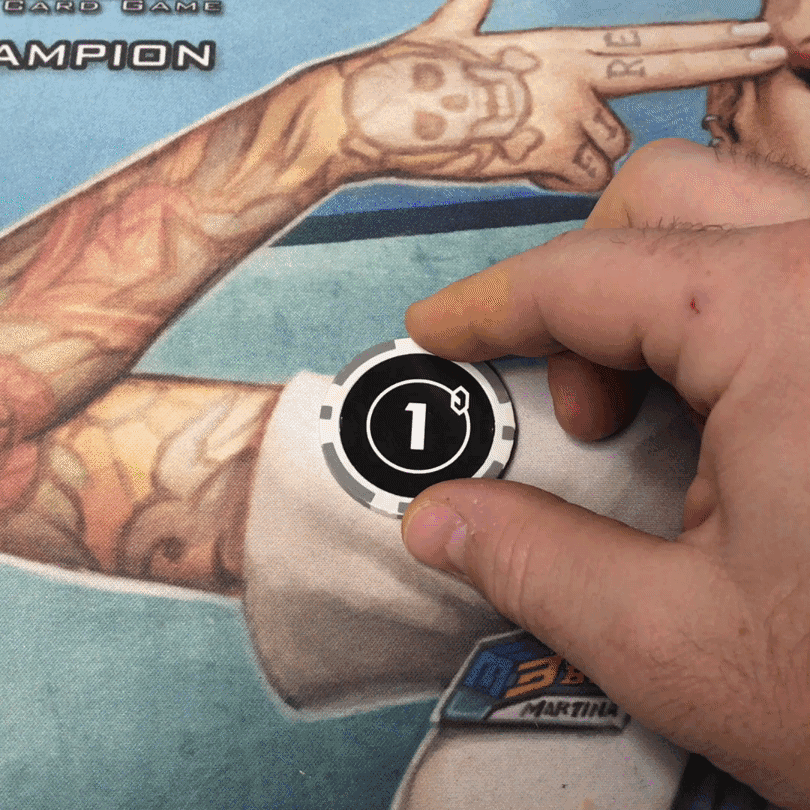
There are two things to consider when applying the stickers. First, you want to make sure you align the stickers consistently. It never looks good to have one token aligned one way and another token a different way.

Second, consider how you apply the opposite side of the token. Tokens are usually flipped over the horizontal axis (from bottom to top) so I like to invert how I stick the sticker on the opposite side.
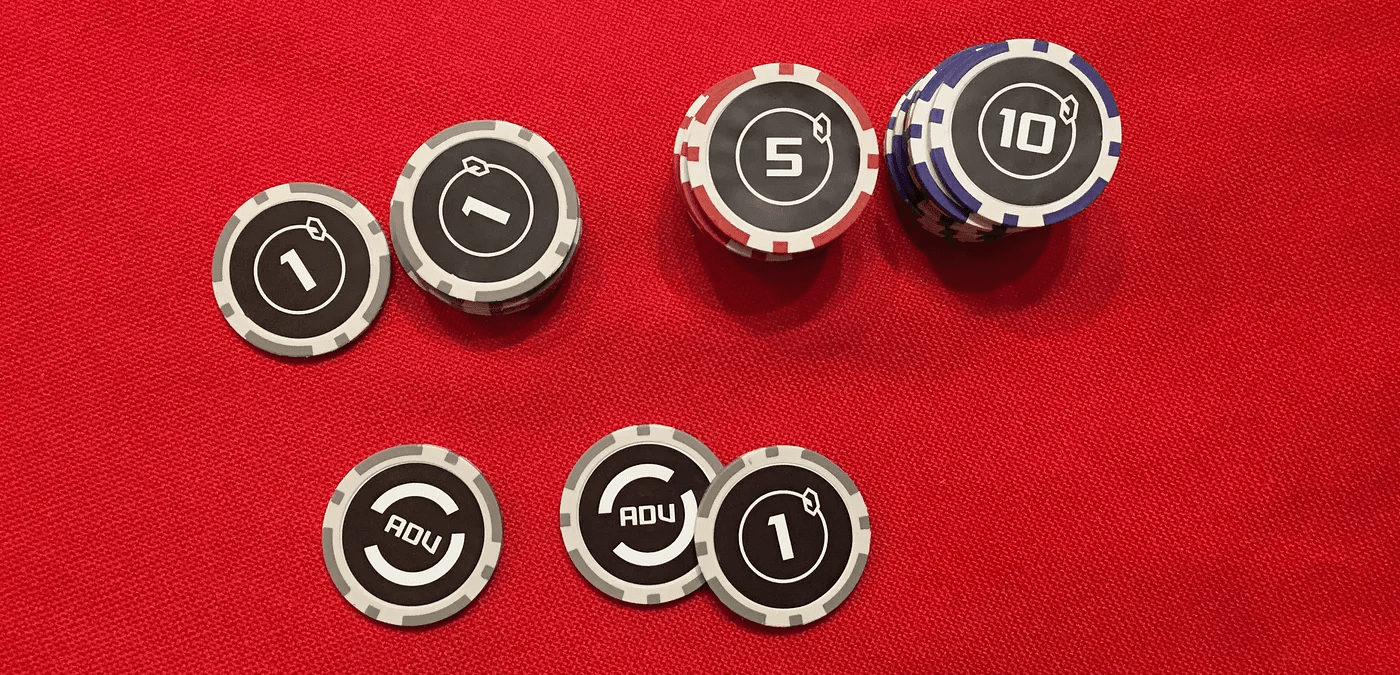
Once you apply the final stickers you should have some nice looking poker chips. Congratulation you are now the envy of your local meta.
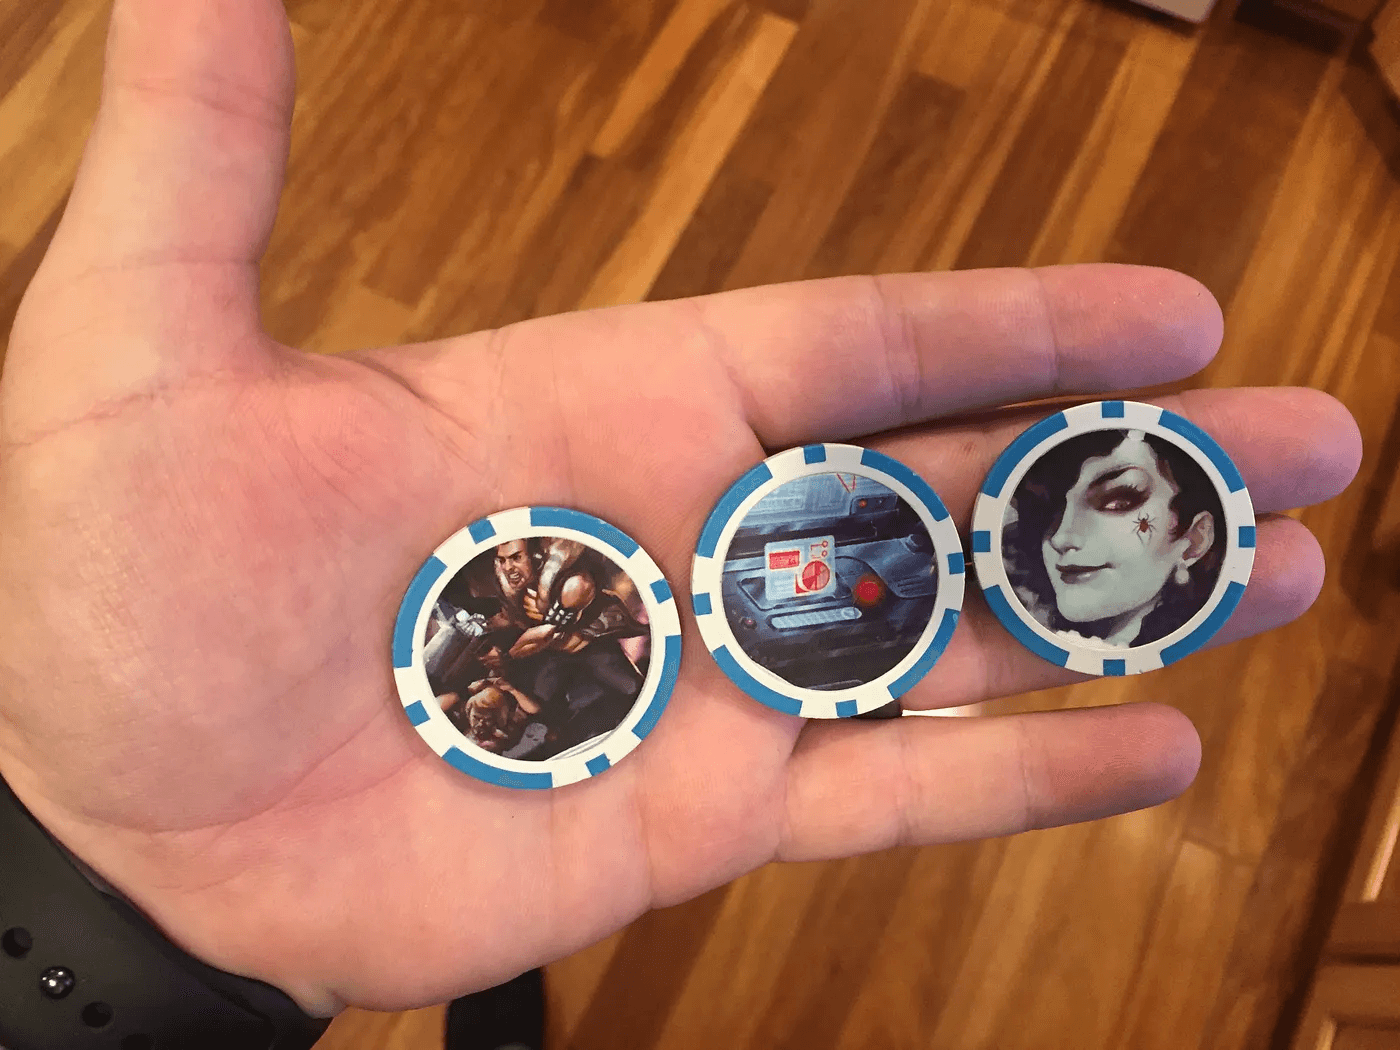
Optional Step 7 — Make other types of tokens.
There is a reason poker chips have not changed that much over the years. It’s because they are one the easiest to read and easiest to handle game component every created. Poker chips just feel really good in your hand and are easy to manage.
I’ve made power tokens, virus tokens and various other marking tokens using this method described above and couldn’t be happier with the results.
I hope you enjoy making your tokens and let me know if you need any help of suggestions. Below you can find materials you will need and the digital resources that you are free to use and manipulate.
Best, kevintame